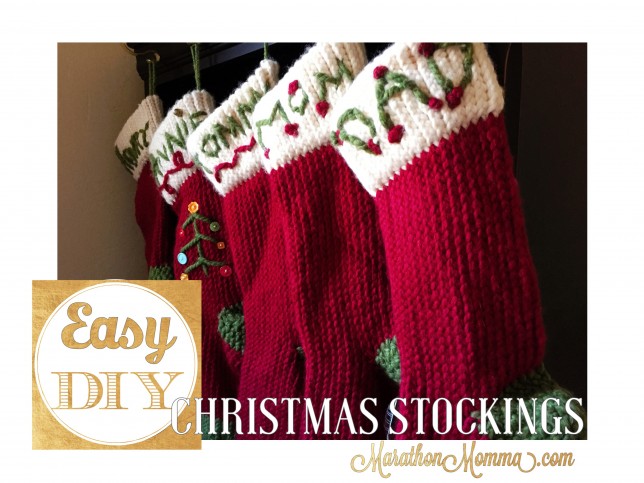
We love our stockings! It has been so fun over 8 years of marriage to add a stocking every other year for each new baby. It always makes the year extra special and I don’t have to worry about finding the same type of stocking or having one that doesn’t quite match the others.
When people come over and see our stockings, we always get compliments as well as wide eyes saying, “Wow, you made those?!”
Yes I did, and they are so easy! You don’t have to be a crocheter, knitter, or crafter to do it yourself, I promise!
Here’s the pattern that I have used over the years. I have been asked so many times for it that I figured it’s easier to just share it with everyone! Each stocking can be finished in a three hour chunk of time. I usually work on it here and there and can get one done easily within a few days. Here’s how to make yours!
Have you ever used a round knitting loom before? You can find them HERE.
The RED loom is the one that you need.
You will need Lion’s Brand Wool Ease Chunky Yarn pictured HERE. There are so many different fun colors. You could seriously do any combination!
The loom also comes with a loom pick and a yarn needle and you will need both. Pictured HERE.
And that’s all you need! I hope you enjoy making these as much as I did. Just get a yummy little holiday snack, turn on a Hallmark movie and start knitting! You will be surprised at how fast it goes and you might just enjoy it! 😉
Here’s the pattern!
Christmas Stockings
For the cuff of the stocking:
1. Wrap the yarn around the peg on the edge of the ring.
2. Pull the yearn to the inside of the ring between the first and last peg.
3. Wrap the yarn to the far side of the first peg going completely around it and crossing in the back. Repeat with the second peg. Keep yarn loose. Continue around until all the pegs are wrapped. Slide the yarn on each peg toward the bottom of the pegs.
4. Continue around wrapping pegs until you have two rows of yarn.
5. Using the hook, lift the bottom row of yarn over the top row of yarn and over the top of the peg. Continue with each peg. Wrap again and continue knitting to a length of 6.5 inches. (27 rows)
6. Reach inside the loom and place each loop from the bottom row over the corresponding peg. This will fold the knitting in half forming a cuff on the top of the stocking. Pull the yarn loops on the bottom of the pegs over the ribbing row and over the top of the pegs.
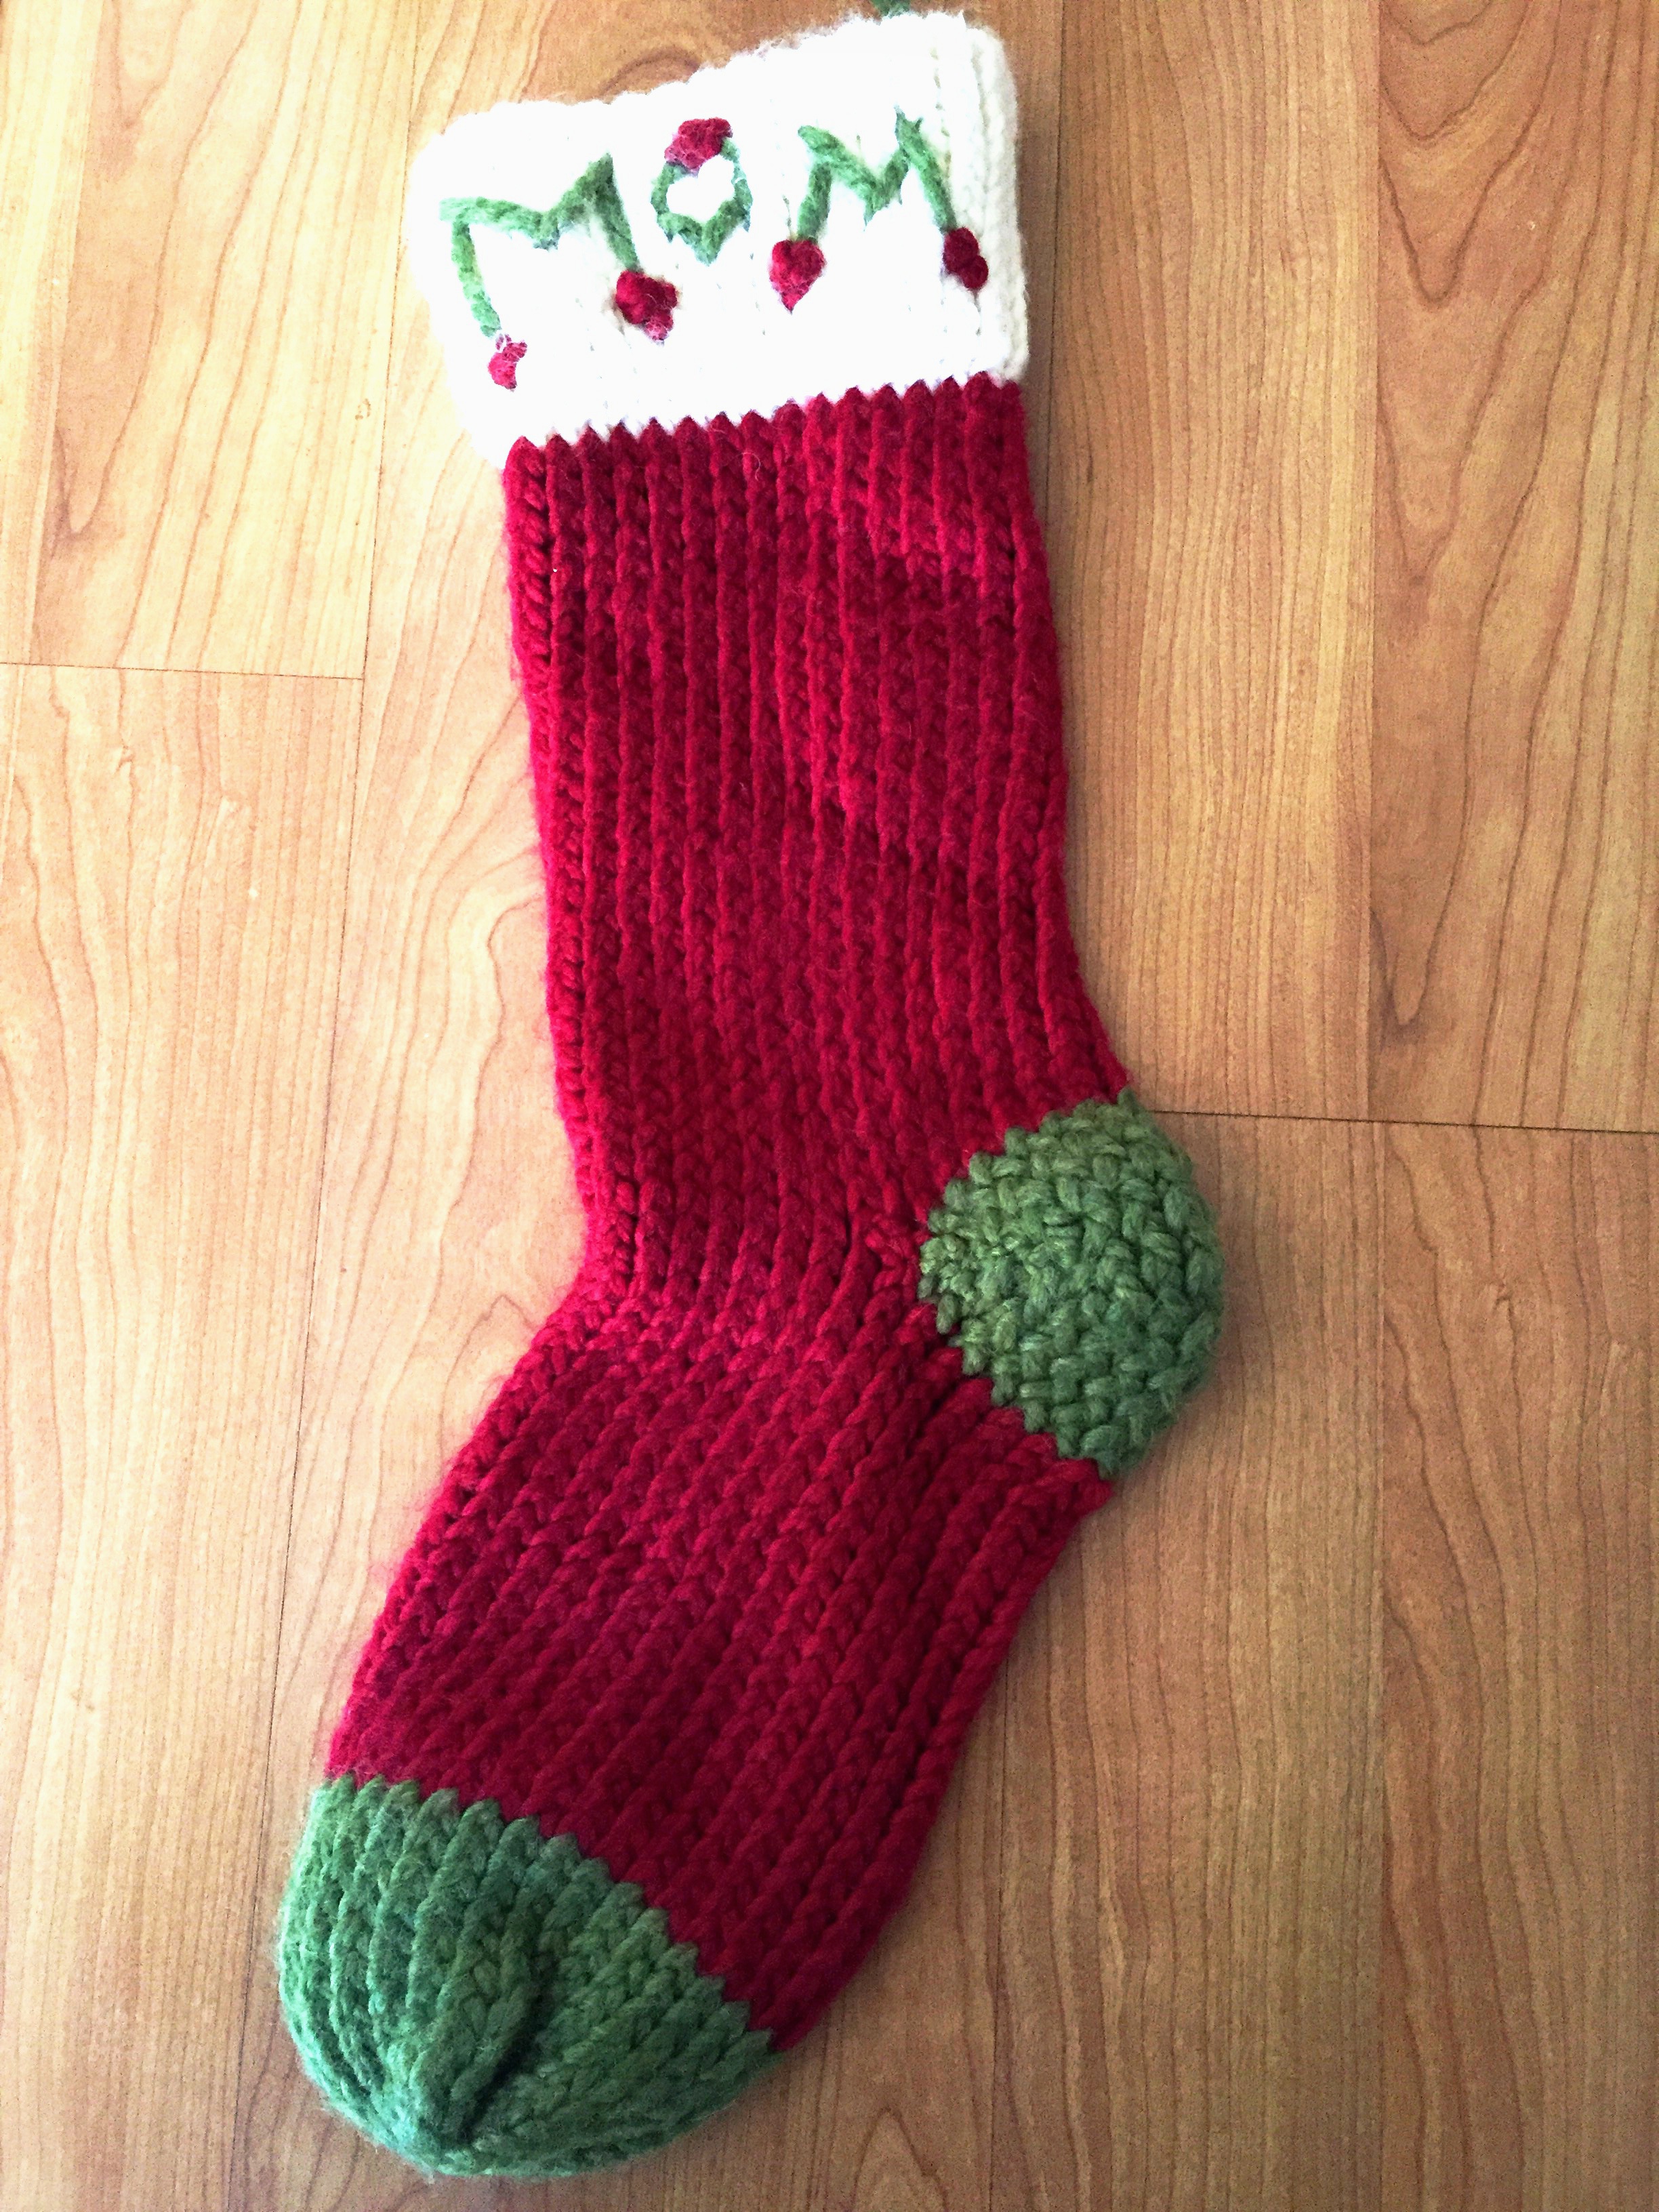
7. Change the yarn to the color you want for the main part of your stocking by cutting the first color of yarn leaving a two inch or three inch tail. Attach the new color to peg on the edge of the loom as you did to begin your project leaving a two inch or three inch tail. Wrap your new color around the first peg and continue around. Once you have knitted two or three rows, you can tie the two colors together using a square knot. Tie it tight enough so that there is not a gap. Knit to a length of 8.5 inches or 29 rows.
8. Change to the color you want for the heal and toe and wrap over to the 15th peg. Knit off then wrap and knit back to peg one.
9. Start to decrease. Take the yarn loop from peg one and peg two. Pull the loop from peg two through peg one and place back on the same peg. Knit to the end of the row.
10. Take the yarn loop from peg 14 and 15. Pull the loop from peg 14 through loop 15 and place back on the same peg. Knit to the end of the row.
11. Continue decreasing until you have three empty pegs on each side.
12. With the remaining nine pegs, knit four rows.
13. Start to add stitches. Every time you knit through the end of the row, add a stitch on the next empty peg. Do this 6 times until the pegs are all filled.
14. Pick up the main color of the stocking and knit the circle back together again continuing for 6 inches (25 rows) to the toe.
15. Toe: Change to the toe color yarn and knit 10 rows.
Finishing: Thread a yarn needle with about 20″ of yarn. Run the needle and yarn through the loop on the first peg, then through the loop on the last peg. Continue until all the loops have been picked up. Remove the loops from the pegs. Pull the yarn together to close the end. Adjust it to look like the end of a sock. Once you have it the shape you want, run the needle and yarn through the loops across the end to hold in place. Tie off.
16. Stitch up the two sides of the heel and weave in the loose ends of the yarn.
You are done! Merry Christmas!!! <3

This picture is from 2012. We had just had our baby number three! And here we are three years later with what feels like deja’vu!
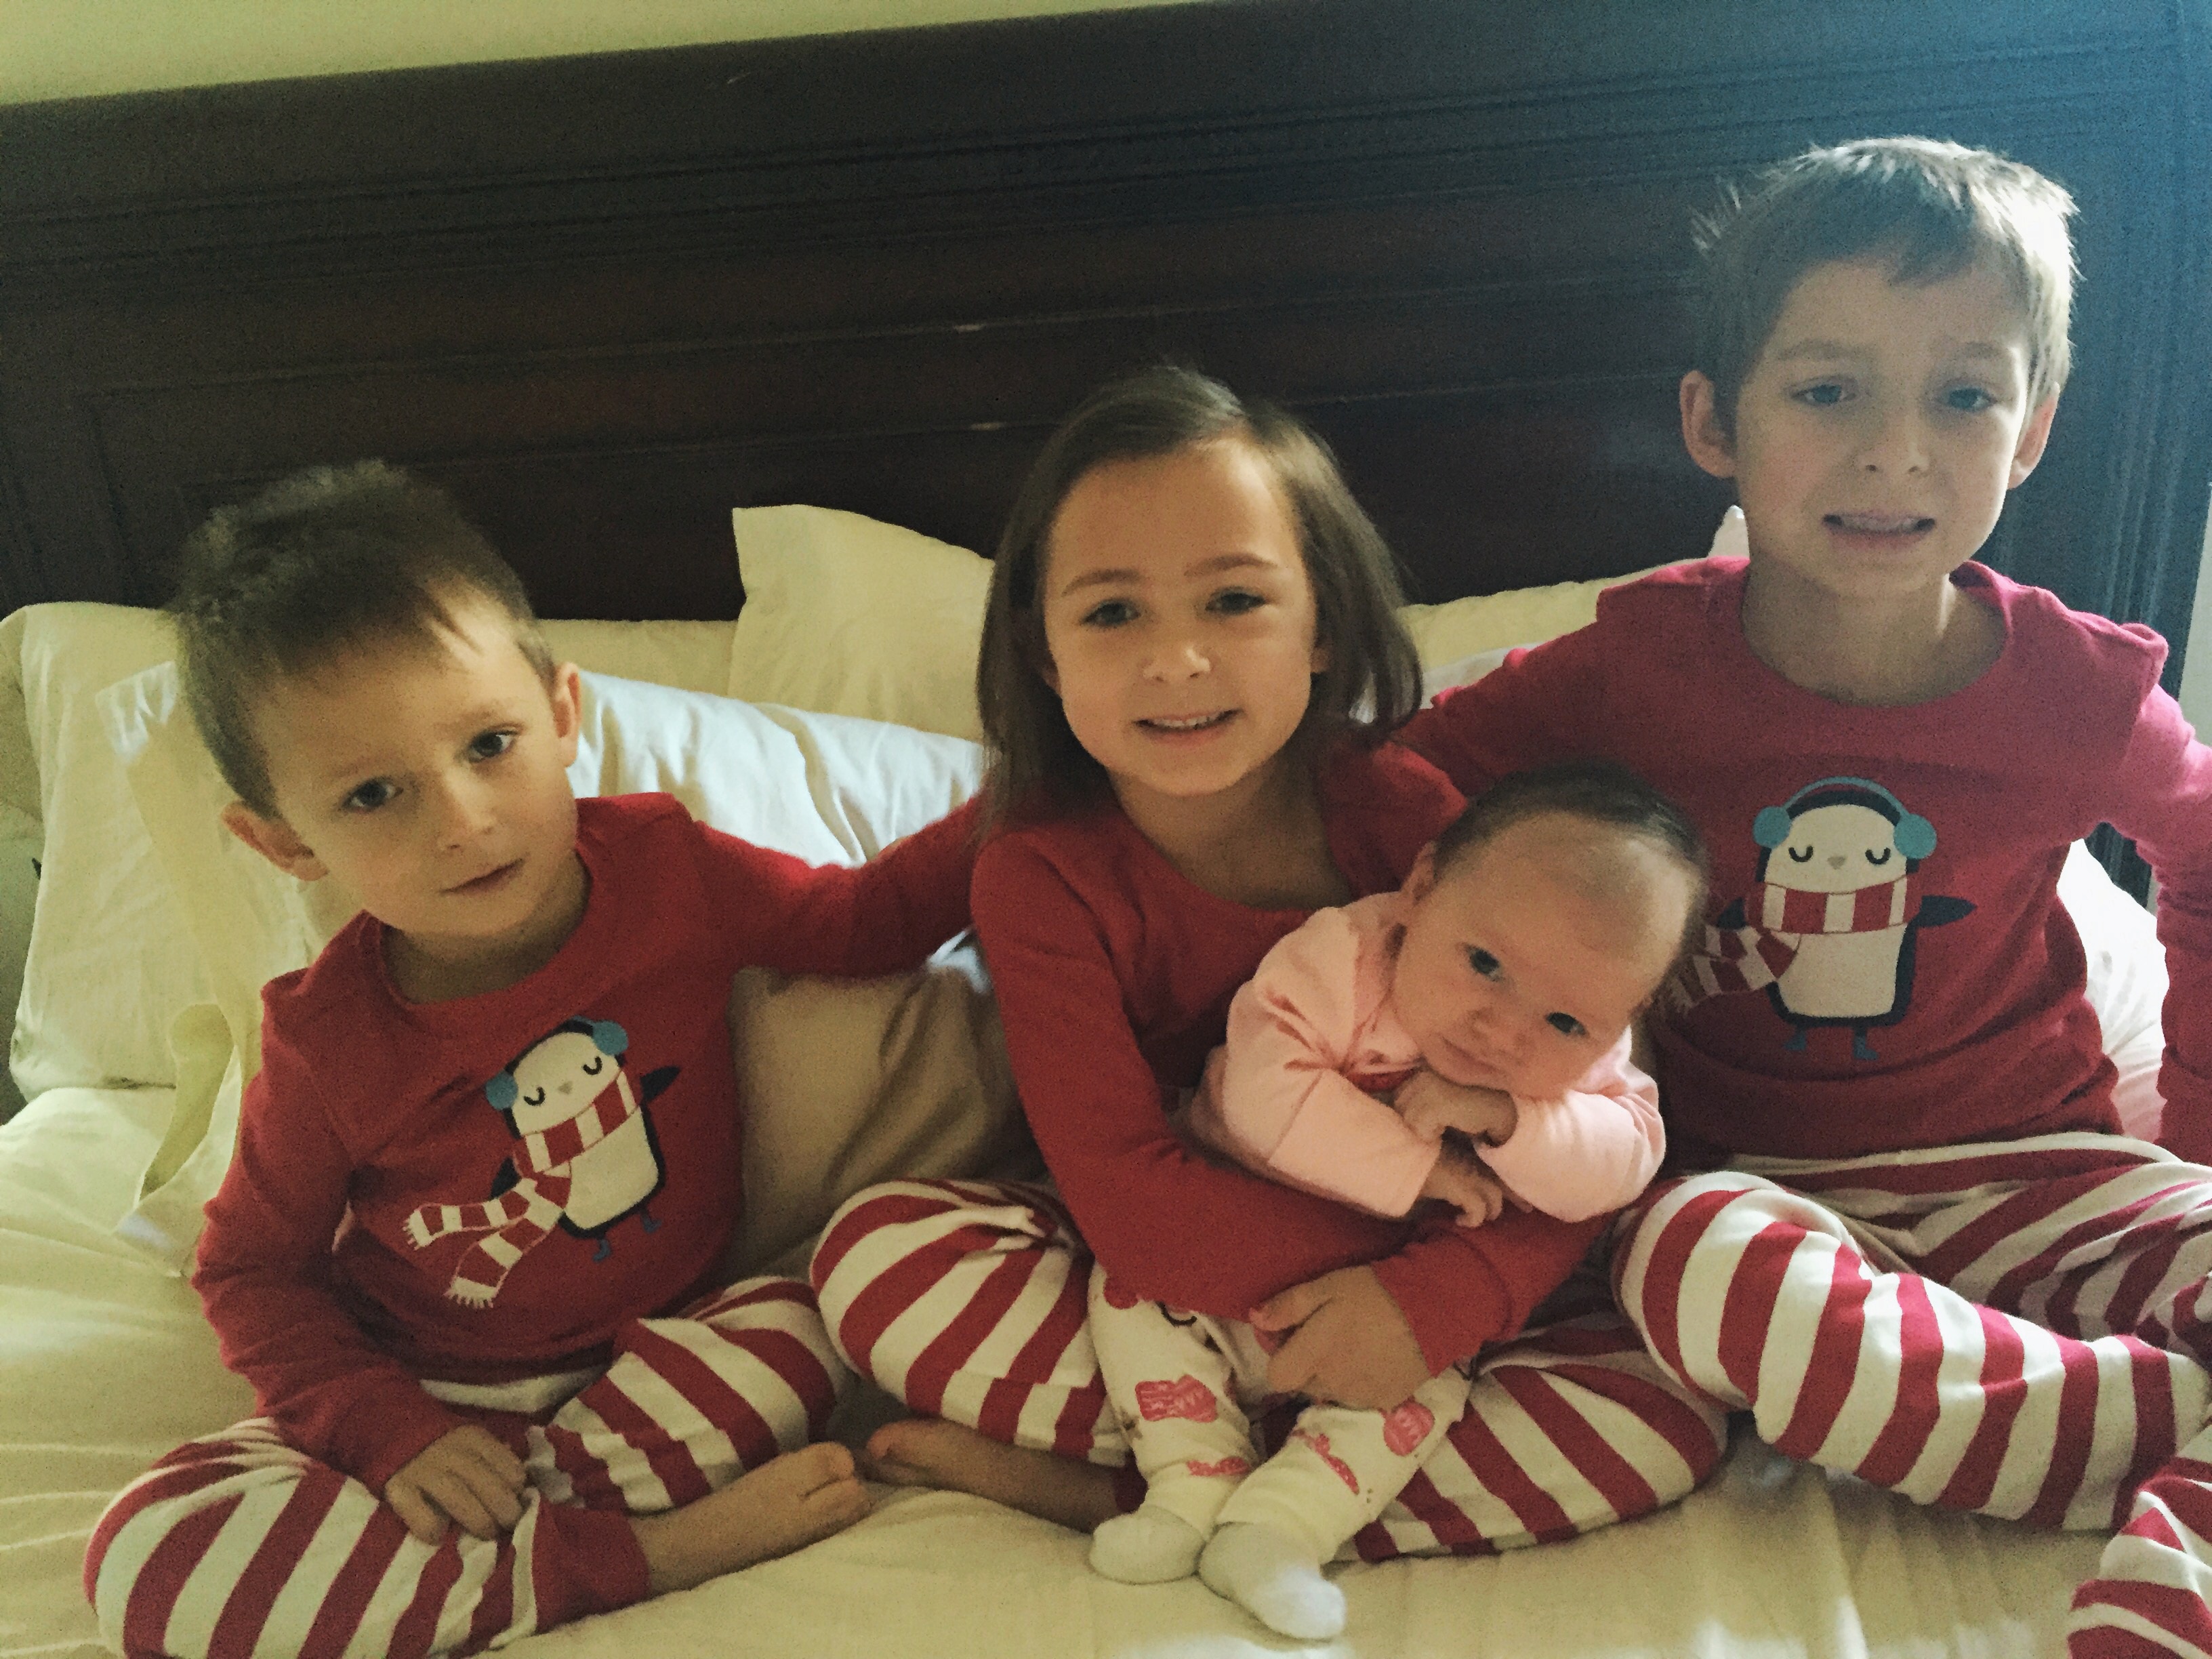
A new baby at Christmas time. Time to make another stocking!
Merry Christmas and lots of love to you!
XoXo,
Laura
What are your Christmas traditions?
How do you keep Christ in Christmas?
Share This:
These are very nice Christmas knit stockings. I would like to make one for my Mom but I am not too good with written knitting loom instructions. Do you by chance have this pattern in video format? Thank you. Shelley Kovacic
skovacic@hotmail.com
Hi Shelley, I am planning to make one. I will get back to you when it is finished. Merry Christmas!
Hello! I know this is an old post, but I just found it and am trying to make a stocking for my new son
It seems the instructions might be incomplete? I can only find the steps that go until the heel, but how do you proceed and make the rest of the stocking and the toe? It seemed so detailed up until that point…
Thank you!
I am so sorry, I don’t know how I left the end of the pattern out! I have corrected my mistake. Thank you for reaching out and congratulations on your new son! Merry Christmas!
What loom did you use to make them jw .
Hi there, I added a link below. If you look at that, I use the red size loom.
https://www.amazon.com/ALIMELT-Knitting-Crochet-Needles-Blankets/dp/B07G8GH263/ref=sr_1_1_sspa?dchild=1&keywords=knitting+looms&qid=1608231487&sr=8-1-spons&psc=1&spLa=ZW5jcnlwdGVkUXVhbGlmaWVyPUExNEdVU0NJSlE3RTNVJmVuY3J5cHRlZElkPUEwNDY5MDc0Mkg1SEc3UlpaTEIwQSZlbmNyeXB0ZWRBZElkPUEwOTY5OTgzMU9XRUlORzM5TUhZUSZ3aWRnZXROYW1lPXNwX2F0ZiZhY3Rpb249Y2xpY2tSZWRpcmVjdCZkb05vdExvZ0NsaWNrPXRydWU=
Hi there! I got a great start on your pattern for my grandson. But I’m fairly new to loom knitting so at the heel part I hit a snag. I was able to somewhat make the heel. It’s still attached to the loom. I don’t know how to continue with sewing it up from there. Also how to continue with the toe part. Would you be able to help me? I so wanted to finish this for my grandson before Christmas.
Hi Joyce, I apologize! I don’t know how I left out the last part of the pattern! I hope I am not too late. It is all there, let me know if you get stuck. Merry Christmas! What a lucky grandson!
I was able to finish the body. I was also wondering how to do the lettering? I’ve never done this before.
I looked up duplicate stitching but think you’ve done something else.